How to Set Up a Beam Splitter Teleprompter Rig: The Studio Guide to Lenses, Glass, and Clean Takes
Learn how to build and dial in a camera-mounted beam splitter teleprompter rig. Master lens focal lengths, optical geometry, lighting ratios, and browser-based mirror controls.
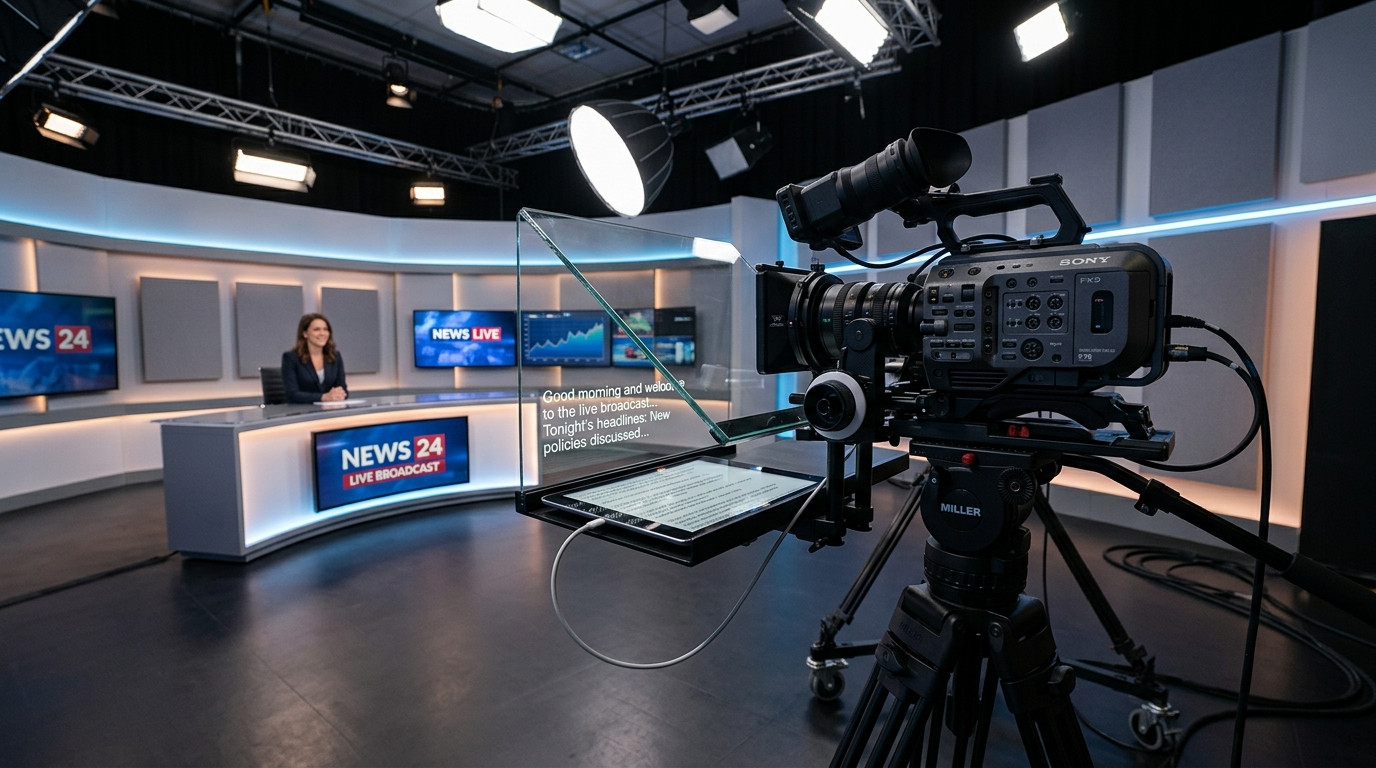
A camera-mounted beam splitter teleprompter rig is the industry standard for talking-head videos, executive briefings, and high-stakes YouTube productions. Unlike off-axis prompter mounts or tablet clips that sit above the matte box, a 70/30 or 60/40 beam splitter glass rig positions the script directly in front of the lens. Talent looks right down the barrel of the camera while reading every word cleanly.
Achieving a flawless take requires understanding physical rig geometry, optical principles, and digital display controls. If your lens is too wide, you will see the edges of the prompter hood in your shot. If your lighting is unbalanced, internal glass reflections will wash out your sensor contrast. Here is the step-by-step studio guide to dialing in your beam splitter teleprompter rig for crisp, distraction-free footage.
1. Understanding Beam Splitter Glass and Rig Geometry
Beam splitter glass uses a specialized dielectric coating at a precise 45-degree angle. This optical coating allows roughly 70 percent of incoming light to pass straight through into your camera lens, while reflecting 30 percent of the light emitted from your tablet or monitor screen directly toward the presenter. In high-brightness environments, 60/40 glass provides slightly higher reflection visibility at the cost of one full stop of exposure on your camera sensor.
To configure the rig physically, follow these core positioning rules:
- Center the Lens Optical Axis: Mount your camera on the baseplate so the center of your front element aligns precisely with the center of the 45-degree glass pane. Off-center alignment creates uneven reflection falloff.
- Seal the Rear Shroud: Always wrap the fabric light-blocking hood snugly around your lens barrel. Any stray studio light entering from behind the glass creates veiling glare and ruins your camera contrast.
- Keep the Lens Close: Push your lens as close to the rear of the glass as possible without touching it. This maximizes your usable field of view and prevents physical vignetting.
2. Selecting the Right Lens and Focal Length
Lens selection makes or breaks a teleprompter setup. Wide-angle lenses present two major issues on a prompter rig: optical vignetting and unnatural perspective distortion.
If you mount a 24mm or 28mm lens on a full-frame sensor, the wide field of view will catch the rectangular frame of the prompter glass or tablet tray in your corners. Furthermore, wider focal lengths force the talent to sit closer to the glass, exaggerating left-to-right eye tracking across wide lines of text.
For talking-head interviews and studio presentations, the sweet spot sits between 50mm and 85mm on full-frame cameras, or 35mm to 55mm on Super 35 and APS-C sensors. A 50mm or 85mm lens offers key advantages:
- Zero Rig Vignetting: The narrow angle of view looks cleanly through the center of the glass without catching the prompter frame.
- Flattering Facial Geometry: Moderate telephoto compression slims facial features and separates the subject from the studio background.
- Compressed Eye Movement: Placing the subject 6 to 9 feet away compresses the angular sweep of their eyes, making reading completely imperceptible on camera.
If you are looking for an intuitive way to control scripts on your beam splitter rig from any laptop or phone, explore Prompter Share. It delivers instant, zero-friction remote prompting directly in your browser.
3. Solving the Physical Mirroring Dilemma
Because beam splitter glass reflects text across a 45-degree plane, horizontal text from a standard tablet appears backwards to the talent. Historically, studios solved this with heavy specialty monitors with built-in hardware flip cards, expensive SDI scan converters, or awkward OS display workarounds that flipped the operator mouse coordinates.
Modern video workflows eliminate that hardware complexity through browser-based mirroring. When using an iPad, Android tablet, or field monitor under your glass, software like Prompter Share lets you press the M key or tap a single toggle to reverse the talent feed instantly. The talent sees crisp, standard-reading text in the glass reflection, while the operator screen remains normal, upright, and easy to edit in real time.
4. Studio Lighting Ratios for Beam Splitter Glass
Lighting a presenter through semi-reflective glass requires careful control of light bounce and exposure values. Follow these cinematographer guidelines:
- Compensate for the Light Loss: Remember that 70/30 glass costs approximately one-half to two-thirds of a stop of light. Open your aperture, adjust your ISO, or boost your key light output to maintain your target sensor exposure.
- Eliminate Spill on the Front Glass: Position your key and fill softboxes at 45-degree angles to the talent, using honeycomb grids or flags. Never aim a light fixture directly at the front of the teleprompter glass, as direct spill creates milky, washed-out shadows in your video feed.
- Balance Tablet Brightness: Do not set your tablet screen to 100 percent brightness in a dim studio. Excessive prompter brightness casts an unnatural, teal or blue glow onto the talent face and chest. Set display brightness so text is legible without acting as an unwanted secondary key light.
5. Production Workflow: Driving the Take Smoothly
The best optical rig in the world will not save a production if the script delivery falters. Traditional teleprompter setups tether an operator to the camera tripod with USB cables or require the talent to reach forward awkwardly to tap their tablet screen.
A modern workflow separates the script driving from the physical rig:
- Send a Zero-Install Viewer Link: Open the talent URL on your prompter tablet. It connects instantly with frame-accurate clock sync, without app installs or login walls.
- Prevent Screen Sleep: Always ensure your prompter software utilizes built-in wake locks so the tablet screen never dims or turns off during long takes.
- Drive from the Camera or Control Desk: An assistant director or producer can run the session from a laptop across the room using keyboard shortcuts, while an operator at the camera makes micro-adjustments using a secondary phone remote link.
Ready to streamline your studio productions and capture clean, confident takes on camera? Launch your next shoot with Prompter Share and experience real-time remote teleprompting with zero friction.