Teleprompter Light Loss and Exposure Compensation: The DP Guide to Beam-Splitter Optical Calibration
Master teleprompter light loss calculations across 70/30 and 60/40 beam-splitter glass. Learn how to dial in f-stop exposure compensation, prevent color casts, and run clean remote prompting.
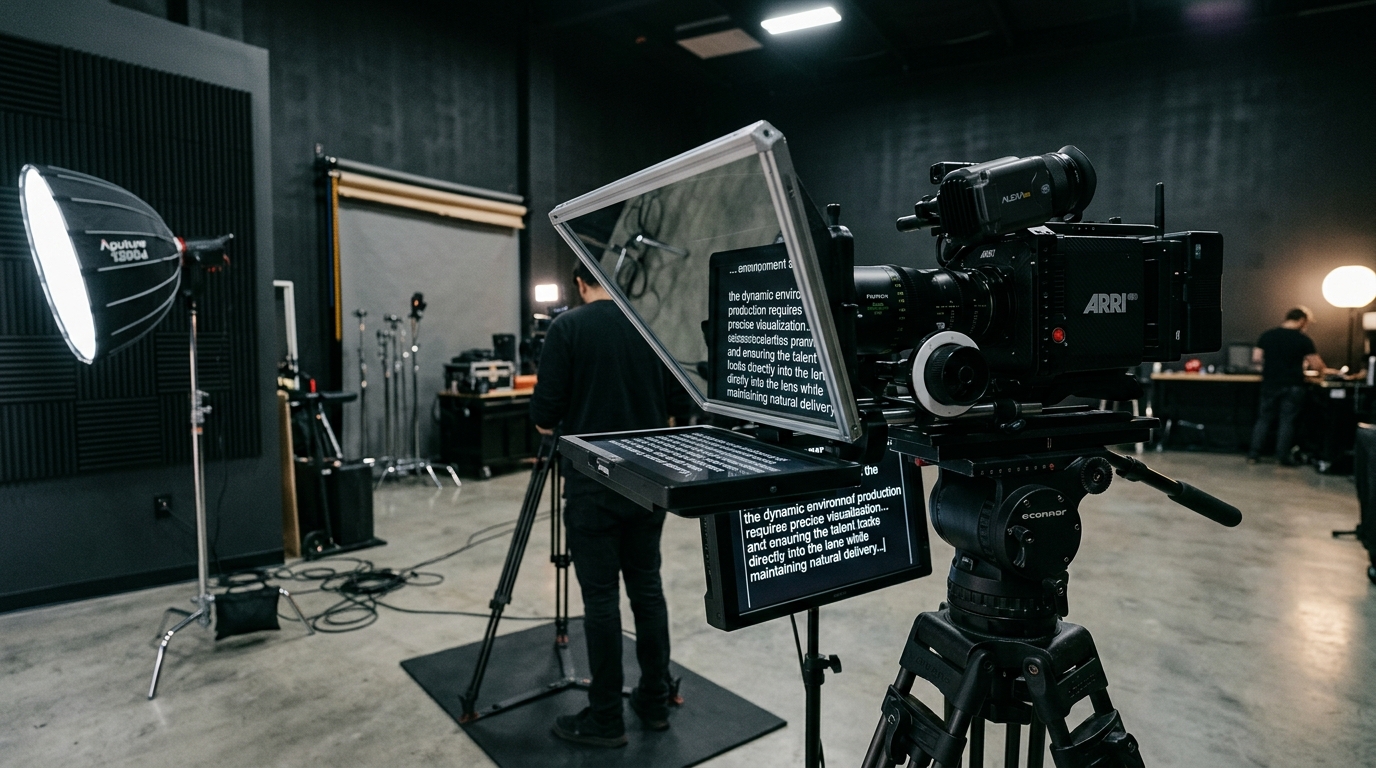
Mounting a camera behind beam-splitter glass creates direct, authentic eye contact with your audience. For a director of photography or solo video creator, that optical connection is irreplaceable. However, shooting through glass introduces a critical optical variable that many productions overlook until post-production: light loss.
A teleprompter beam-splitter mirror is not transparent clear glass. It is an optical dielectric filter engineered to divide incoming light into two paths. Part of that light reflects upward to project scrolling script lines toward your talent, while the rest transmits through to the camera sensor. Understanding the physics of beam-splitter transmission lets you dial in accurate sensor exposure, protect skin tones, and eliminate muddy shadows before rolling take one.
Understanding Beam-Splitter Ratios: 70/30 vs 60/40 Glass
Beam-splitter glass is defined by its transmission-to-reflection ratio. The first number represents the percentage of light that passes through the glass into the camera lens. The second number indicates the percentage reflected toward the presenter eyes.
Studio teleprompters rely on two standard optical formulations:
- 70/30 Optical Glass: Transmits roughly 70 percent of light to the sensor and reflects 30 percent toward talent. This is the industry standard for controlled studio lighting setups. It strikes the ideal balance between clean reflection readability and minimal camera exposure reduction.
- 60/40 Optical Glass: Transmits 60 percent of light to the sensor and reflects 40 percent toward talent. This glass is frequently selected for bright studio spaces, outdoor commercial sets, or mobile rigs using compact tablets where the talent needs a punchier, higher-contrast reflection to read comfortably.
Because 30 to 40 percent of ambient light never reaches your front lens element, your camera sensor experiences an immediate drop in exposure. Knowing exactly how many stops of light you lose allows you to adjust your camera settings without guessing.
Calculating Exact F-Stop Loss on the Sensor
In photographic stops, light loss is calculated using optical transmittance. A full one-stop exposure reduction equates to cutting transmission by exactly 50 percent (0.50 transmission). When you shoot through optical beam-splitter glass, the stop loss falls within a predictable range:
- 70/30 Glass Exposure Drop: Passing 70 percent of light equates to a loss of approximately 0.51 stops (roughly half a stop). If your incident light meter measures f/4.0 on the presenter face, the light reaching the sensor behind 70/30 glass registers around f/3.2.
- 60/40 Glass Exposure Drop: Passing 60 percent of light equates to a loss of approximately 0.74 stops (roughly three-quarters of a stop). On an f/4.0 key light, the sensor receives an effective exposure closer to f/2.8.
- Budget Acrylic and Consumer Glass: Non-optical glass or untreated acrylic prompter panes can absorb excess light, causing an unexpected drop of 1.5 to 2 full stops while degrading sharpness. Always verify your rig uses true optical-grade glass.
If you set exposure with a handheld incident light meter in front of the teleprompter rig, you must compensate on the camera body. You can open your lens aperture by half a stop, bump your base ISO (for instance, stepping from ISO 800 to ISO 1250 on a dual-native ISO cinema sensor), or increase your key and fill fixtures accordingly.
When running commercial soundstages or fast-moving corporate shoots, technical friction eats away your production schedule. Setting up complex secondary video monitors and long HDMI runs across set adds unnecessary failure points. Modern teams use Prompter Share to bypass bulky video converters entirely. The operator drives the script from a laptop anywhere on set while the talent reads on an iPad or field monitor over a simple browser link, keeping your camera package lean and balanced.
Managing Optical Color Shift and White Balance Calibration
In addition to exposure reduction, beam-splitter coatings can impart subtle spectral color bias. Depending on the coating chemistry, light passing through the glass may shift slightly toward green or cyan, while the reflected image leans warm.
To maintain clean skin tones, always set your custom white balance through the complete optical chain:
- Never Balance in Front of the Glass: Holding an 18 percent gray card in front of the prompter hood bypasses the beam-splitter coating, leaving your recorded footage tinted.
- Calibrate Through the Prompter Lens: Position your calibrated gray card or white balance target in the talent seat under primary key and fill lighting. Frame the target through the camera mounted directly inside the teleprompter hood and execute your manual white balance capture.
- Monitor Waveforms and Vectorscopes: Check your false color and RGB parade monitors. Ensure the gray card values sit neutral along the center line on your vectorscope without pulling into the magenta or green axes.
Preventing Internal Flare, Contrast Washout, and Screen Spill
A frequent error on corporate and YouTube sets is mistaking optical flare for exposure loss. When a monitor or tablet shines brightly beneath the beam-splitter glass, stray photons bounce inside the prompter hood. This internal reflection scatters across the rear surface of the glass, causing lifted blacks, hazy shadows, and reduced optical contrast.
Follow these steps to keep your teleprompter images crisp and contrast-rich:
- Seal the Lens Shroud: Ensure the cloth hood or neoprene donut fits light-tight around your lens barrel. Any light leaking in from behind the camera reflects off the rear glass surface directly into the sensor.
- Use Deep Dark-Theme Backgrounds: Avoid software interfaces that display light gray borders or bright margins. A pure dark theme minimizes unwanted screen spill hitting your camera lens.
- Keep Tablet Brightness Balanced: Do not overdrive your prompter screen brightness indoors. Set the display only as bright as necessary for talent comfort.
- Flag Studio Key Lights: Prevent off-axis studio softboxes or hair lights from grazing the front surface of the 45-degree glass. Use a matte box flag or solid c-stand flag to shade the glass face.
Streamlining the Rig with Zero-Friction Software
Compensating for optical light loss is straightforward when your gear stays out of the way. What slows down studio takes is finicky hardware, software lag, or displays dimming during long script runs. A dependable teleprompter workflow lets you focus your energy on camera geometry, exposure levels, and directing performance.
Prompter Share solves on-set friction with real-time browser synchronization. Send one secure viewer link to the talent tablet, toggle beam-splitter mirror mode with the M key, and your text flips horizontally for 45-degree glass without scrambling the operator controls. Built-in wake lock prevents screens from sleeping during quiet moments, while frame-accurate clock sync keeps multi-screen rigs perfectly aligned. Whether you operate from the camera with a phone remote link or direct across town, your talent gets a clean read and your camera gets a clean take.