How to Light a Teleprompter Setup: The DP Guide to Eliminating Eyeglass Glare and Glass Flare
Master studio lighting for teleprompter rigs. Learn key light angles, diffusion techniques, polarizing filters, and dark-theme screen settings to eliminate reflections and eyeglass glare.
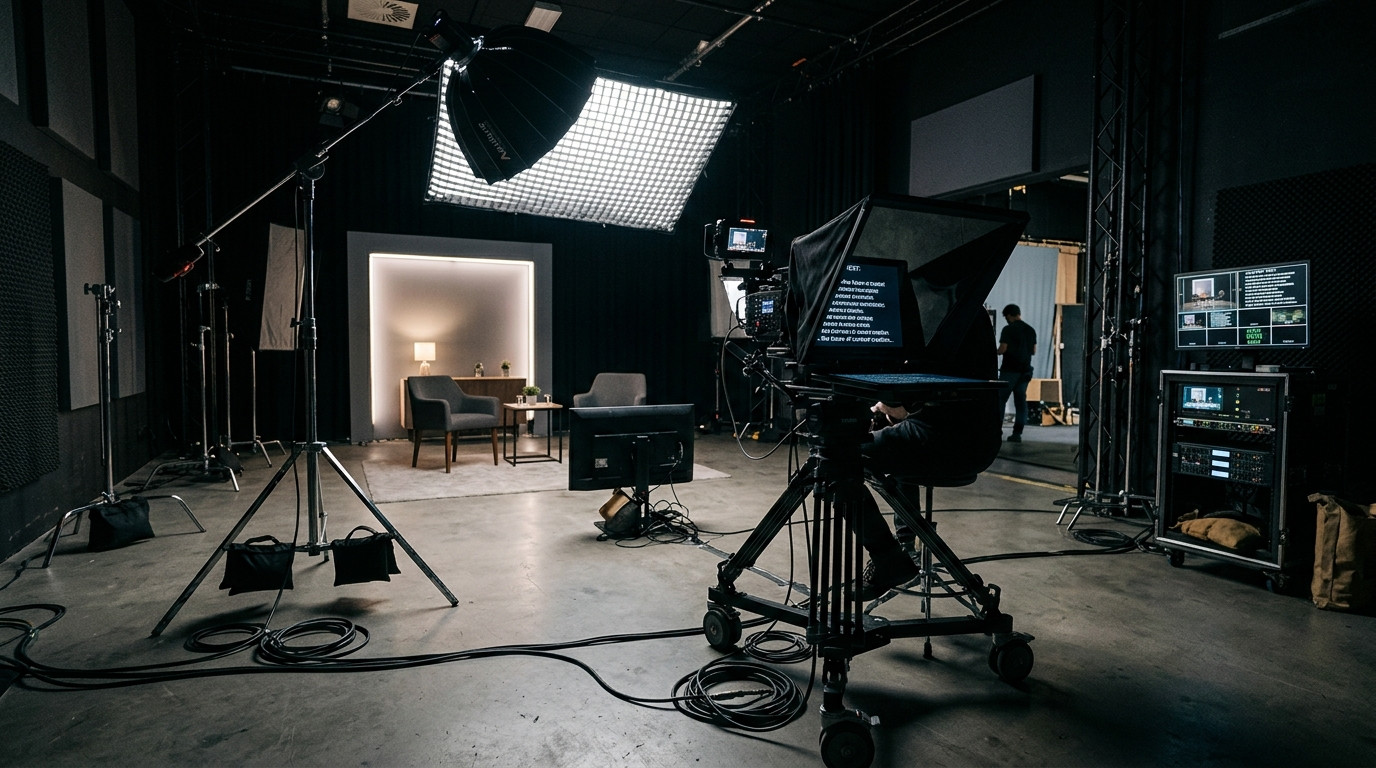
Mounting a beam-splitter teleprompter directly in front of your camera lens changes the optical rules of your studio. The moment you place a 70/30 or 60/40 piece of semi-reflective glass between your lens and your subject, you introduce two distinct reflection hazards: stray studio light bouncing into the camera path, and bright text reflecting off your talent's eyeglasses.
Getting a clean, cinematic talking-head shot with a prompter is entirely achievable when you understand the law of reflection and manage your light ratios correctly. Here is how seasoned directors of photography and studio video producers eliminate flare, stop eyeglass reflections, and keep talent looking natural on camera.
The Law of Reflection: Why Eyeglass Glare Happens
Eyeglass glare occurs when the angle of incidence equals the angle of reflection directly into the camera lens. If your key light sits directly next to your camera at eye level, the front element of your talent's glasses acts like a mirror, bouncing the light source straight down the barrel of your lens.
The fix is geometric rather than technical. You must move your key and fill lights outside the family of angles that reflect into the camera:
- Raise your key light: Elevate your main light source to approximately 45 degrees above talent eye level. The light bounces off the glasses downward toward the floor rather than back into the lens.
- Move lights to the side: Push your key light 45 degrees off-axis to create classic Rembrandt or loop lighting. This angle creates flattering facial depth while keeping the bright highlight off the glass surfaces.
- Adjust the spectacle frame tilt: If talent has deep-curved lenses, ask them to raise the temple arms of their glasses slightly off their ears, tilting the front lenses downward by just two or three degrees. This micro-adjustment redirects remaining highlights below the lens without looking unnatural on camera.
Eliminating Beam-Splitter Glass Flare and Optical Haze
Teleprompter beam-splitter glass reflects about 30 to 40 percent of the upward-facing prompter screen light toward the talent while allowing 60 to 70 percent of the ambient light to pass through to the camera sensor. However, stray studio lights hitting the front or back of the prompter glass will create severe contrast loss, milky shadows, and colored flares.
To maintain maximum contrast and image sharpness through the glass:
- Seal the dark chamber: Ensure the fabric hood or rubber gasket behind the teleprompter glass completely encloses the camera lens barrel. Any light entering from behind the glass causes immediate ghosting and lens flare.
- Flag your backlight and hair light: Position your rim lights so that bare LED spill never strikes the front surface of the prompter glass. Use barn doors, grids, or black flags to keep the beam focused solely on the talent's shoulders and hair.
- Tweak your Circular Polarizer (CPL): Adding a high-quality circular polarizer filter to your cinema lens allows you to rotate out subtle internal reflections between the prompter glass and the camera front element.
- Cover camera tally lights: Small tally lamps or illuminated front camera buttons reflect clearly in the rear of beam-splitter glass. Cover them with small pieces of black gaffer tape.
Clean optics require a clean software feed. With a dedicated tool like Prompter Share, talent reads crisp, high-contrast white text against a true-black background (#0B1416). By avoiding bright backgrounds or cluttered operating interfaces on the prompter display, you drastically cut down the amount of light cast back onto the talent's face and eyewear.
Setting the Right Screen Brightness and Contrast
One of the most common studio mistakes is treating the teleprompter screen like a secondary video monitor and cranking the brightness to 100 percent. An overly bright prompter tablet or iPad acts like an un-diffused upward fill light, creating an unflattering under-chin glow and illuminating the talent's eyes with green or blue cast.
Follow these display best practices:
- Lower display brightness to 30-50 percent: Set the tablet brightness just high enough for comfortable reading in your ambient studio lighting.
- Increase font size instead of luminance: If the talent struggles to read words from six to eight feet away, make the font larger rather than making the screen brighter.
- Keep a narrow text column: Keeping script text centered in a narrow column reduces the total illuminated surface area on the glass and keeps the talent's eyes locked in the center of the lens.
Lighting Ratios for Teleprompter Talking Heads
Because beam-splitter glass absorbs roughly one-third to one full stop of light before it reaches your sensor, balance your studio exposure accordingly. Use a large, diffused softbox (such as a 36-inch or 48-inch octabox with an egg-crate grid) for your key light to wrap the talent softly without throwing uncontrolled spill across the studio.
Position your fill light or passive white bounce card opposite the key light to lift shadows gently, keeping your key-to-fill ratio around 2:1 for clean corporate interviews or 4:1 for dramatic, cinematic profiles. Always check your camera monitor with prompter text actively scrolling to confirm that the movement of the white text does not introduce flickering micro-reflections in your talent's pupils.
Running a smooth shoot means minimizing distractions so the talent can focus entirely on their delivery. Using Prompter Share gives you real-time frame-accurate clock synchronization, instant beam-splitter mirroring mode, built-in screen wake lock, and wireless phone remote control straight from the camera position, ensuring your lighting setup and takes stay rock solid from the first line to the final wrap.